vue项目手写一个局部打印的组件

后台管理系统当中,报表的打印和导出是非常常用的功能,这次我就记录一下如何手写一个局部打印功能的组件。

最终实现效果:

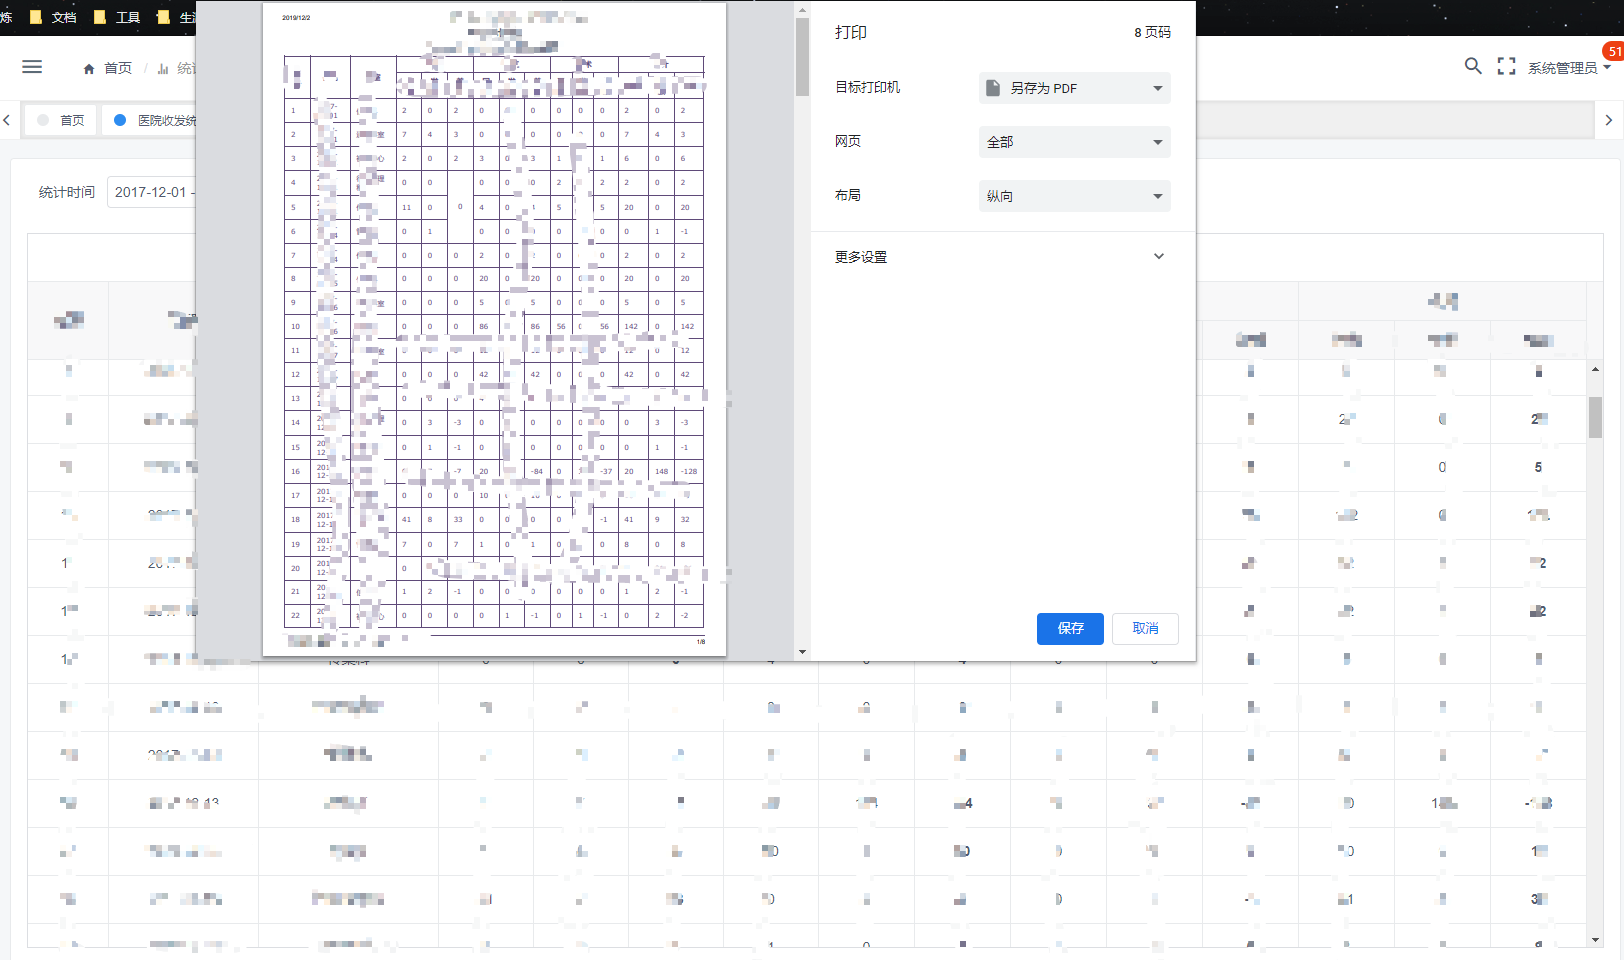
上图的数据打了马赛克,不过还是基本能看出来实现了局部打印功能,并且表格的样式都能正常显示。为了实现这个局部打印功能,我在中间还是趟了不少坑的。

一、实现局部打印的方式

浏览器的window对象有一个print()方法可以用来打印,但这种方式只能打印整个网页,不能对具体的某个元素进行打印,并且dom元素对象中也没有相关的打印方法,这就使得局部打印必须采取一些技巧才能实现。

第一种方式是新建窗口(标签页),专门放打印内容,然后调用window.print()方法进行打印。但这种方式就要每一个打印内容都需要新建页面(标签页必须得有网址,不能用js凭空创建),不能进行有效的复用。

第二种方式是用iframe标签,在里面放置打印内容,然后调用iframe.contentWindow.print()方法进行打印。这种方式需要处理很多细节上的东西,但处理之后其他地方就可以进行简单的调用了。

综合考虑,最终我选择使用第二种方式,并且使用组件来做而非常规的js文件(可以方便地使用vue的模板渲染表格)。

另外就是使用jquery插件printArea,但是作为一个高端的vue项目,怎么能jQuery这种东西呢?遂弃之。

还有就是printjs、vuePlugs_printjs等纯js插件,printjs可以打印,但样式不能设置成我满意的样式;vuePlugs_printjs样式和原内容一样,但不能将超出内容自动分页,遂弃之。

二、实现局部打印

这里参考了vuePlugs_printjs的源码,在此表示感谢。

1
2
3
4
5
6
7
8
9
10
11
12
13
14
15
16
17
18
19
20
21
22
23
24
25
26
27
28
29
30
31
32
33
34
35
36
37
38
39
40
41
42
43
<template>
<div>
<!-- 打印占位 -->
<iframe id="printf" src width="0" height="0" frameborder="0"></iframe>
<!-- 打印内容,我这里是为了打印表格,你也可以替换为自己需要打印的内容 -->
<table ref="printTable" id="printTable" class="spl-table">
</table>
</div>
</template>

<script>
export default {
name: 'simple-table',
methods: {
/**
* 打印表格内容
*/
printTable () {
// 1.获取要打印的内容的一份复制,否则待会儿添加节点时会将原有内容删除
const content = document.getElementById('printTable').cloneNode(true)
// 2.获取放置打印内容的iframe
const ifm = document.getElementById('printf')
// 3.添加打印内容样式
let str = ''
const styles = document.querySelectorAll('style,link')
for (let i = 0; i < styles.length; i++) {
str += styles[i].outerHTML
}
ifm.contentDocument.write(str)
// 4.添加打印内容并打印
// 使iframe中存在body元素,便于使用dom元素的方法
ifm.contentDocument.write('<div></div>')
ifm.contentDocument.close()
ifm.contentDocument.body.appendChild(content)
ifm.contentWindow.print()
}
}
}
</script>

<style scoped>
@import './simple-table.css';
</style>

上面代码中的注释已经写的很全面了,重点就是要将当前页面中的样式定义导入到<ifrme>元素中。并且在导入dom元素时没有将其转为字符串写入,而是直接采用appendChild()方法插入dom元素,这是因为转为字符串插入过程中一些dom元素会丢失导致表格显示异常。不过用了这种dom节点插入的方式之后,原有的节点就会被移动到这里,那么用户重复打印时这个组件的打印功能就失效了,这显然不是我们想要看到的结果。因此在前面创建了一个打印内容的复制,保证在插入节点后原节点依旧存在。

三、超出内容分页、隐藏打印内容

在上面的代码实现了局部打印功能之后,当打印内容超出一页时,我发现打印预览却依然只有一页,而在正常页面中直接右键打印却可以自动分页,那到底是哪里出了问题呢?

在参考了这篇文章之后,我明白了问题所在:我们的后台管理系统基本上body、html都是固定高度的,此时window的打印功能就只能确定一页的高度,因此我们需要将body和html的高度自适应子元素的高度,即:

1
2
3
html, body {
height: inherit;
}

但是先别急,这样一设置我们的后台管理页面不就乱了套了嘛,此时就要用到CSS的媒体查询了:

1
2
3
4
5
6
7
8
9
10
/* 打印时显示 */
@media print {
.spl-table {
display: table;
}

html, body {
height: inherit;
}
}

上面代码中同样将我们要打印的内容显示出来了,因此在普通的样式中我们就要将打印内容隐藏起来。这样就可以实现一个较为完美的局部打印功能了。

附录:简单的表格打印组件

下面是我实现的一个表格打印组件(环境:Vue+iview表格)。iview表格用于在查询界面显示报表,这个表格打印组件用于显示标准的表格打印内容。所以这个组件的各种参数都是以iview中的Table组件的参数来定义的,为的就是不用对同一个数据源做两次改变。

组件内容

1
2
3
4
5
6
7
8
9
10
11
12
13
14
15
16
17
18
19
20
21
22
23
24
25
26
27
28
29
30
31
32
33
34
35
36
37
38
39
40
41
42
43
44
45
46
47
48
49
50
51
52
53
54
55
56
57
58
59
60
61
62
63
64
65
66
67
68
69
70
71
72
73
74
75
76
77
78
79
80
81
82
83
84
85
86
87
88
89
90
91
92
93
94
95
96
97
98
99
100
101
102
103
104
105
106
107
108
109
110
111
112
113
114
115
116
117
118
119
120
121
122
123
124
125
126
127
128
129
130
131
132
133
134
135
136
137
138
139
140
141
142
143
144
145
146
147
148
149
150
151
152
153
154
155
156
157
158
159
160
161
162
163
164
165
166
167
168
169
170
171
172
173
174
175
176
177
178
179
180
181
182
183
184
185
186
187
188
189
190
191
192
193
194
<template>
<div>
<!-- 打印占位 -->
<iframe id="printf" src width="0" height="0" frameborder="0"></iframe>
<!-- 打印内容 -->
<table ref="printTable" id="printTable" class="spl-table">
<caption>
<!-- 自定义header插槽,用于放置自定义标题内容,详见https://cn.vuejs.org/v2/guide/components-slots.html,注意:建议不要与下方title一起使用 -->
<slot name="header"></slot>
<div class="spl-fz16">{{title}}</div>
<div class="spl-fz12">{{subTitle}}</div>
</caption>
<thead>
<!-- 遍历标题 -->
<tr v-for="n in headLoopData.trNum" :key="n">
<th
v-for="(th, thIndex) in headLoopData.deepArray[n - 1]"
:key="thIndex"
:rowspan="hasChildren(th) ? 1 : (headLoopData.trNum - n + 1)"
:colspan="hasChildren(th) ? th.children.length : 1"
>{{th.title}}</th>
</tr>
</thead>
<tbody>
<!-- 遍历数据 -->
<tr v-for="(item, trIndex) in data" :key="trIndex">
<template v-for="(pptDe, tdIndex) in headLoopData.columnDefines">
<td
v-if="rowAndColSpan(trIndex, tdIndex).indexOf(0) < 0"
:key="tdIndex"
:rowspan="rowAndColSpan(trIndex, tdIndex)[0]"
:colspan="rowAndColSpan(trIndex, tdIndex)[1]"
:class="tdClass(rowAndColSpan(trIndex, tdIndex))"
>{{tdContent(item, pptDe, trIndex)}}</td>
</template>
</tr>
</tbody>
</table>
</div>
</template>

<script>
export default {
name: 'simple-table',
props: {
// 列定义
columns: {
type: Array,
default: function () {
return []
}
},
// 表格数据
data: {
type: Array,
default: function () {
return []
}
},
// 合并单元格策略(要隐藏的单元格需设置span为0,否则会导致表格显示错位)
spanMethod: {
type: Function,
default: function () {
return [1, 1]
}
},
// 标题
title: {
type: String,
default: ''
},
// 二级标题
subTitle: {
type: String,
default: ''
}
},
computed: {
// 显示标题行所需的变量
headLoopData () {
// 行数
let trNum = 0
// 每层标题的数据
const deepArray = []
// 每列的定义
const columnDefines = []

// 计算列定义深度
function countDeep (obj, num) {
if (num > 0) {
deepArray[num - 1].push(obj)
}
if (obj.children && obj.children.length) {
num++
if (num > trNum) {
trNum = num
deepArray.push([])
}
obj.children.forEach(item => {
countDeep(item, num)
})
} else {
columnDefines.push(obj)
}
}

if (this.columns.length) {
trNum = 1
deepArray.push([])
}
this.columns.forEach(item => {
countDeep(item, 1)
})

return { trNum, deepArray, columnDefines }
}
},
methods: {
/**
* 是否有子节点
* @param th - 列定义数组中的对象
*/
hasChildren (th) {
return th.children && th.children.length
},
/**
* 单元格合并策略
* @param rowIndex - 行索引
* @param columnIndex - 列索引
*/
rowAndColSpan (rowIndex, columnIndex) {
let de = [1, 1]
if (this.spanMethod && this.spanMethod instanceof Function) {
de = this.spanMethod({ rowIndex, columnIndex })
}
return de
},
/**
* 单元格显示内容
* @param row - 行数据
* @param colDe - 列定义
* @param trIndex - 行索引
*/
tdContent (row, colDe, trIndex) {
if (colDe.type === 'index') {
return trIndex + 1
} else {
return colDe.key ? row[colDe.key] : ''
}
},
/**
* 单元格样式
* @param spanDef - 单元格合并结果,例:[1,1]
*/
tdClass (spanDef) {
if (spanDef[0] > 1 || spanDef[1] > 1) {
// 合并单元格后设置单元格内容居中显示
return 'cell-center'
} else {
return ''
}
},
/**
* 打印表格内容
*/
printTable () {
// 1.获取要打印的内容的一份复制,否则待会儿添加节点时会将原有内容删除
const content = document.getElementById('printTable').cloneNode(true)
// 2.获取放置打印内容的iframe
const ifm = document.getElementById('printf')
// 3.添加打印内容样式
let str = ''
const styles = document.querySelectorAll('style,link')
for (let i = 0; i < styles.length; i++) {
str += styles[i].outerHTML
}
ifm.contentDocument.write(str)
// 4.添加打印内容并打印
// 使iframe中有body元素
ifm.contentDocument.write('<div></div>')
ifm.contentDocument.close()
ifm.contentDocument.body.appendChild(content)
ifm.contentWindow.print()
},
exportTable () {
// excel.export_table_to_excel('tryprint', '测试表格.xlsx')
}
}
}
</script>

<style scoped>
@import './simple-table.css';
</style>

样式文件

1
2
3
4
5
6
7
8
9
10
11
12
13
14
15
16
17
18
19
20
21
22
23
24
25
26
27
28
29
30
31
32
33
34
35
36
37
38
39
40
41
42
43
44
45
46
47
48
49
50
51
52
53
54
55
56
57
58
59
/* 默认隐藏 */
.spl-table {
width: 100%;
border-collapse: collapse;
display: none;
}

/* 打印时显示 */
@media print {
.spl-table {
display: table;
}

html, body {
height: inherit;
}
}

.spl-table caption {
font-weight: bold;
line-height: 26px;
}

.spl-table thead tr {
border-bottom-width: 1px;
border-bottom-style: solid;
border-bottom-color: rgb(211, 202, 221);
}

.spl-table thead th {
padding: 5px 10px;
font-size: 13px;
font-family: Verdana;
color: rgb(95, 74, 121);
border-style: solid;
border-width: 1px;
}

.spl-table tbody td {
padding: 5px 10px;
font-size: 12px;
font-family: Verdana;
color: rgb(95, 74, 121);
border-style: solid;
border-width: 1px;
}

.spl-fz16 {
font-size: 16px;
}

.spl-fz12 {
font-size: 14px;
}

.cell-center {
text-align: center;
vertical-align: center;
}

使用示例

1
2
<!-- 打印组件 -->
<simple-table ref="spTable" :columns="tableColumns" :data="tableList" :span-method="controlTableSpan" title="统计报表" sub-title="2019-12-15 ~ 2019-12-30 统计报表"/>
1
2
// 执行打印方法
this.$refs['spTable'].printTable()

另外还有一个功能是将表格内容强制分页,同样是利用CSS来做的,思路就是将要分页的表格分成多个table,然后在table之间加上css分页样式:page-break-after: always;即可。不过怎么在这个组件中实现我暂时还没有思路,先在此记录一下。

Godbobo wechat
欢迎您扫一扫上面的微信公众号,订阅我的博客!
坚持原创技术分享,您的支持将鼓励我继续创作!